Snap it. Email it. It's posted.
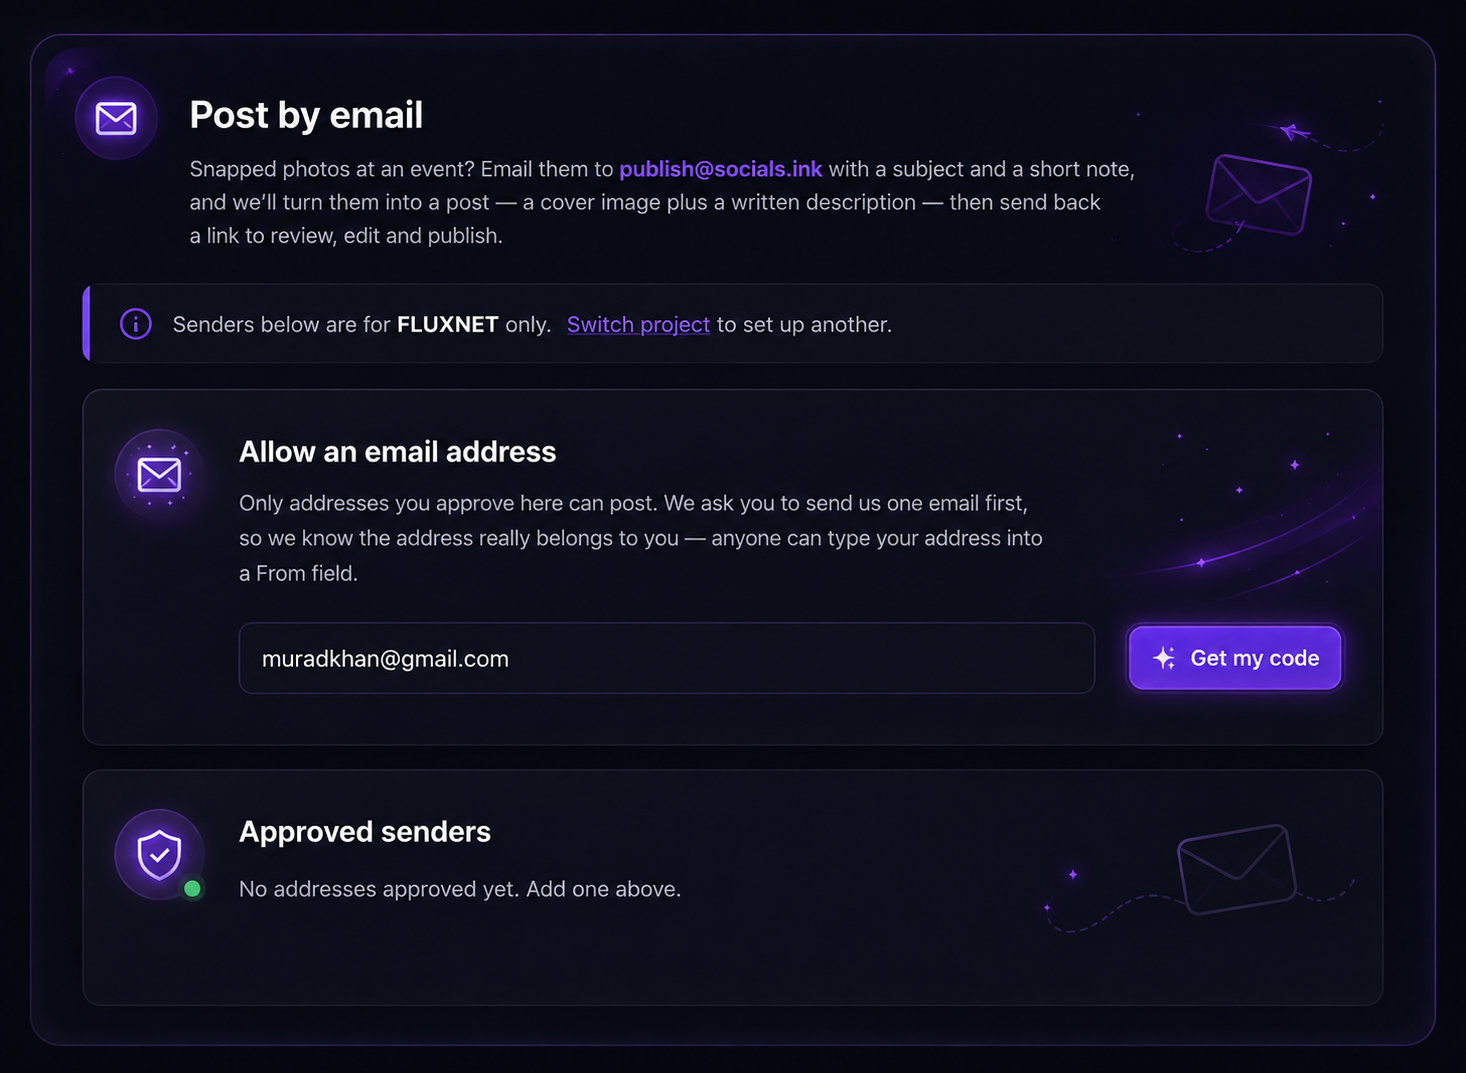
Snapped a photo at an event? Email it to publish@socials.ink with a subject and a short note — we'll turn it into a finished post: a cover image plus a written caption, sent back to you to review, edit, and publish.
Learn more
Why teams love Mail 2 Post
No app, no login, no extra steps — just send a photo and let socials.ink handle the rest.
Post straight from your inbox
No app to open, no dashboard to log into. Snap a photo, attach it to an email, and send — that's the whole workflow.
Automatically on-brand
Your subject line and short note become a finished cover image and caption, styled to match your project's brand kit.
Only approved senders
Every project has its own publish address. Only email addresses you've approved can send posts in — no surprises.
You review before it's live
The finished post comes back to you first — edit the caption, swap the image, or approve it as-is before it publishes.
Post better, together
Snap a photo, email it in, and let socials.ink handle the rest — an on-brand cover image and caption, ready for you to review and publish.

Your inbox is your content studio
No app to open, no dashboard to log into. Attach a photo to an email, add a short note, and socials.ink turns it into a ready-to-publish post — cover image and caption included.
Get started for freeYour post, ready before you even ask
No back-and-forth, no waiting on a designer. The moment you hit send, socials.ink drafts the cover image and caption — you just open the link, tweak if you like, and publish.
Get started for free
Every post you send in, right where you can see it
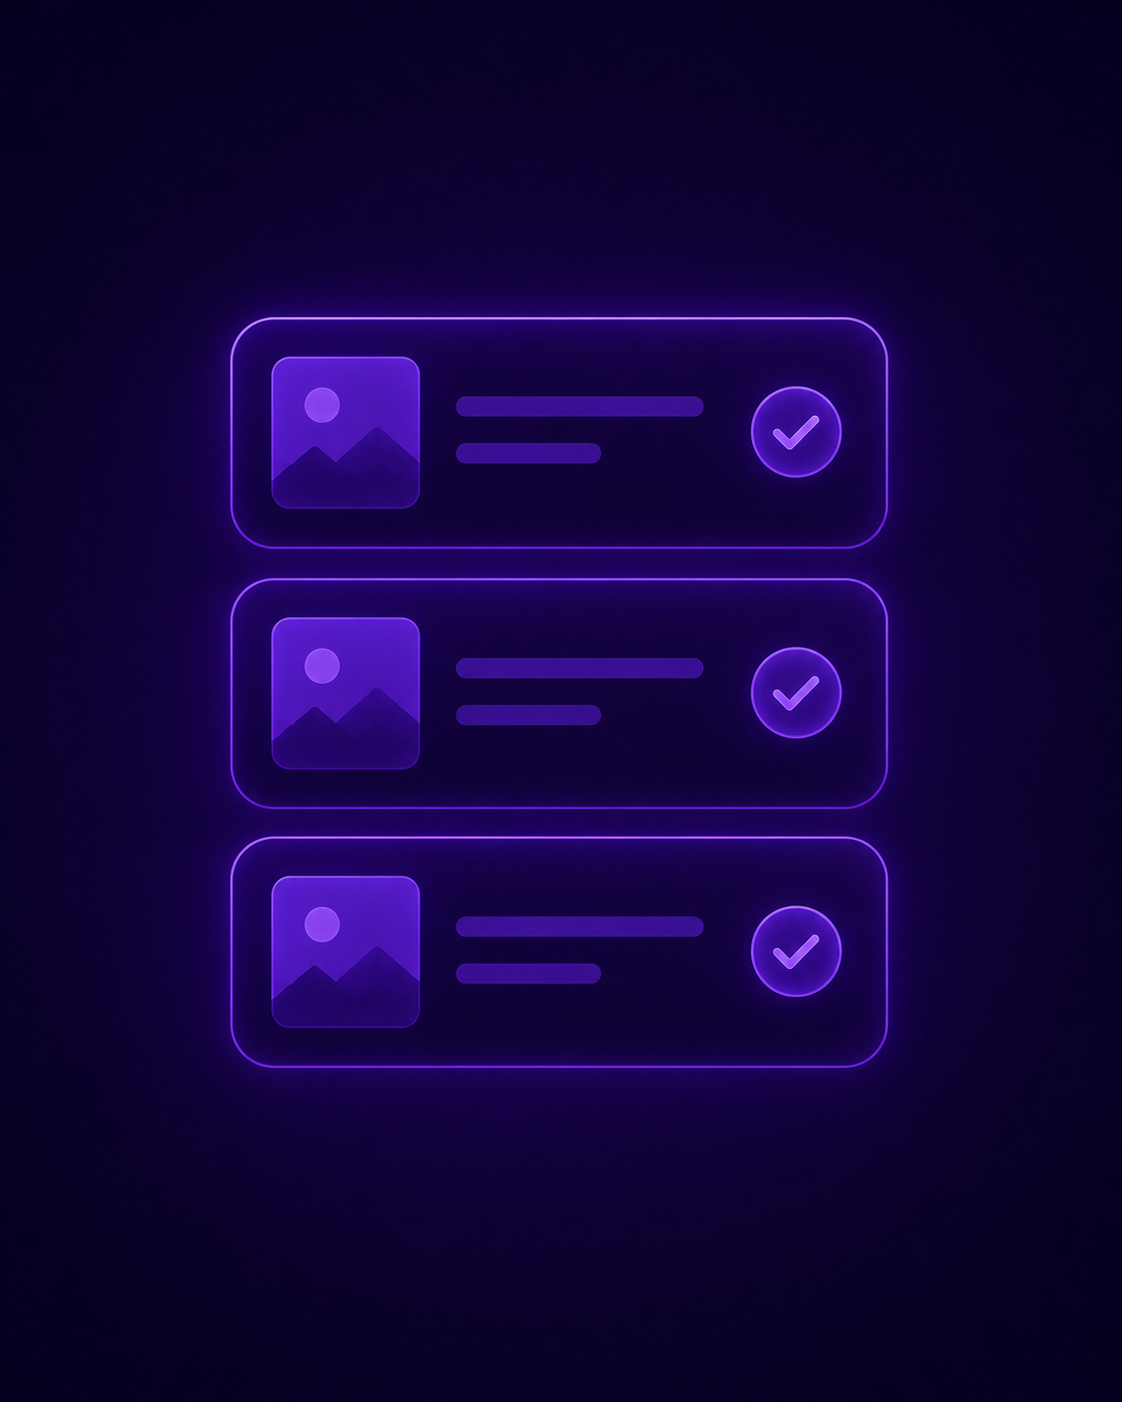
No hunting through old emails. Every post you send by mail lands in one organized queue — see what's pending review, what's approved, and what's already live.
Get started for freeMail 2 Post is a lifesaver during events. I just email a photo from my phone and by the time I'm back at my desk, the post is already drafted and waiting for me to approve.
Sadia Khan
Get the most out of Mail 2 Post
Guides and tips to help you post faster, straight from your inbox.
Getting started with Mail 2 Post
A step-by-step walkthrough of approving senders, sending your first photo, and reviewing the post it creates.
Keeping your inbox secure
How approved senders work, and best practices for managing who's allowed to post on behalf of your project.
Writing subject lines that work
Tips for writing a short note and subject line that help the AI generate a caption that actually sounds like you.
FAQs
How do I set up Mail 2 Post for my project?
Open your project settings and go to Mail 2 Post. Approve at least one sender email address, then send a test photo to publish@socials.ink with a subject line and short note.
Who is allowed to send in a post?
Only email addresses you've approved in "Approved senders" can post to a project. We verify each address with a one-time confirmation email before it's added, so no one can post just by typing your address into a From field.
What happens after I send the email?
socials.ink reads your subject and note, builds a cover image and caption, and sends you back a link. Nothing goes live automatically — you review it first, make any edits, and publish when you're ready.
Can I edit the post before it publishes?
Yes. The link you get back opens the draft in your project, where you can swap the image, rewrite the caption, or adjust anything before you approve and publish it.
Can I use Mail 2 Post for more than one project?
Yes — each project has its own approved senders and settings. Use "Switch project" from the Mail 2 Post screen to set up another project's inbox.
Post from anywhere, without opening an app
Get started for freeNo credit card needed. Free forever.